Organic marijuana is the best for derivation of good quality cannabidiol (CBD). Skimping on the growing process only works to give a bad experience later.
It is important to understand the importance of every step of the farming process so that you can let the plants proceed naturally.
Devoid of understanding, it will be easy to compromise and try to nudge the plants along with chemicals and short cuts, but cannabis plants are pretty hardy and self-sufficient.
However, this is not to say that they should be left to their own devices to fend for themselves. Today we are going to look at the varying stages your cannabis plant will go through during its life cycle and how to maximize each stage!
Phase 1: Germination Stage
The process of picking the seeds you will use to grow is extremely important. When looking at cannabis seeds, all of them are dry and hard.
Meaning there is no way to tell which will produce female plants and which will produce male plants by simply looking or feeling them.
It is like looking at an ovary and purporting to know that after gestation a boy will be born.
The only way to truly determine the gender of plants that will grow from a seed is by labeling the seed as soon as it is extracted from the plant.
It is too small to label so seeds from the same plant can be put in a jar and labeled with the strain and gender.
Now, be careful about storing your cannabis seeds. When considering a storage device, remember that airtight or plastic containers will trap moisture causing your seeds to develop mould.
If the seed is spongy or pale, throw it away as that seed will not amount to anything.
Germination takes about a week depending on the method of germination. The first method is the traditional one where you use soil and a bit of moisture.
In this step, the seed bursts open and develops a taproot, which then stretches to start siphoning nutrients into the plant.
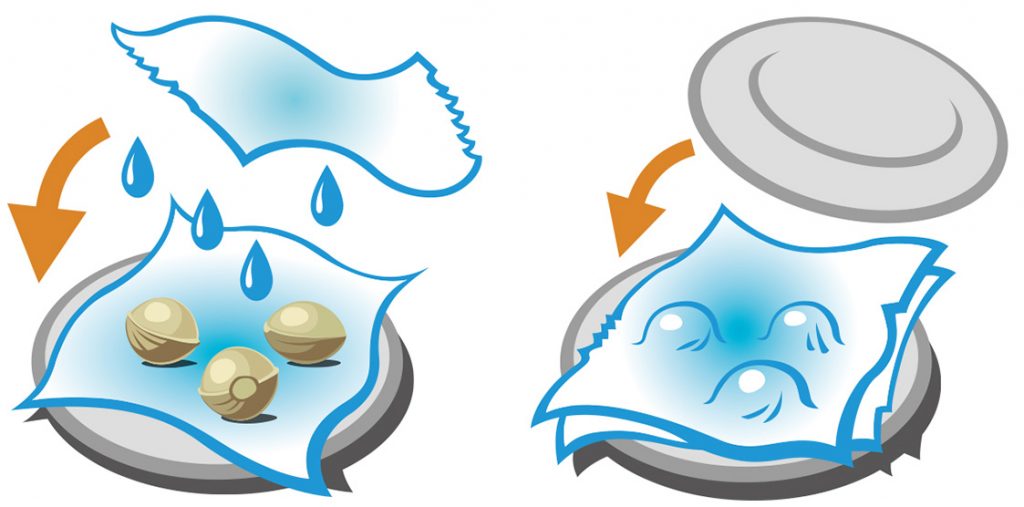
Another method that you can also use to germinate your seeds is by putting it between two wet kitchen towels.
You know, like that science experiment from school?
Put the seed wrapped in moist paper towels inside a tub then cover. Leave it in a dark and warm place for a few days then check for germination. Just make sure during this process, the paper towels stay moist while making sure they are not soaking.
Another method is to pop the seed into a glass of warm water. The seed will float at first but sink as it absorbs the water, and within 48 hours, check that the seed has burst then transfer to your desired growing medium.
After transference as a little radical, the cotyledon leaves will appear then the seed will have graduated to a seedling.
Phase 2: Seedling Stage
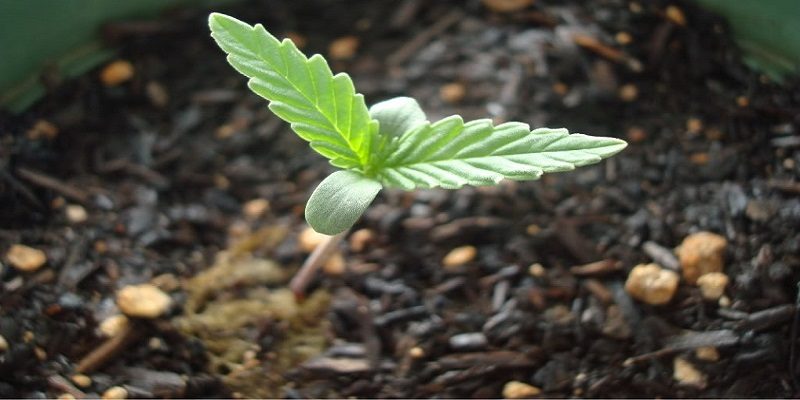
This is the phase that you will begin to see the appearance of the first pair of leaves. But although they look nothing like the compounded marijuana plant leaves, be patient.
Even a human being starts out as a bit of eraser looking matter and only progresses through the stages carefully.
Just like a fetus, there is need for care so that growth is assured. This stage determines the future health, strength, and resilience of your plant.
There should be high light intensity for at least 18 hours a day and moderate humidity of between 50-70%, and the temperature of the room should be kept between 20-25 °C.
The growing medium should be moist but not wet, it’s important that you keep this in mind because the roots are still very young and weak.
They can be easily drowned thus destruction of the seedling and possible future as a plant.
The nutrients should also be appropriately rationed at this stage too, feed the fetus but do not overfeed it!
Phase 3: Vegetative Stage
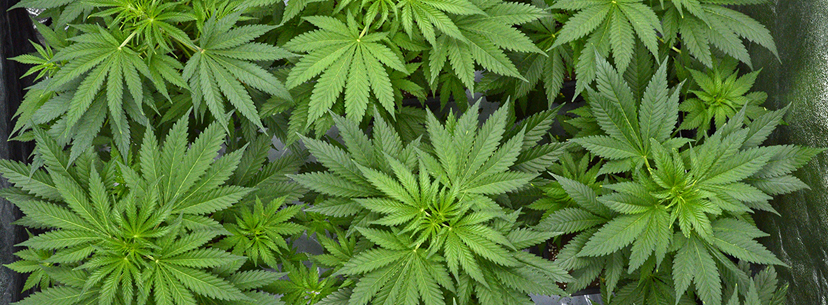
The seedling is said to have crossed over to this stage upon achievement of seven sets of leaves. Something to note is the leaves grow in pairs so really your plant will have fourteen leaves at this point.
It is taller and stronger with a thicker stem with more absorbent roots. The vegetative stage is meant to prepare your plant for the flowering stage.
There is need for a lot of Nitrogen and Potassium at this point, as these nutrients ease your plant into the flowering process.
You should allow periods for the plant to dry out between watering, overwatering your plant can cause damage or even kill it completely. So keep an eye out for droopy leaves, as this is a sign that they are being overwatered and should be allowed to dry out before watering again.
Nitrogen is abundant in the air but unless a plant is a legume, it is unable to absorb it.
Nitrogen is vital for photosynthesis and the production of chlorophyll.
Chlorophyll is used by plants to convert CO2 into glucose to fuel growth.
The nitrogen can be store bought or naturally derived, poultry manure is especially rich in nitrogen.
Potassium works to improve the metabolism of your plant, and it’s instrumental in the production of some very important proteins.
Application of this nutrient strengthens the immune system of your plant making it resilient against pests and plant diseases.
Some commercial growers choose to keep the plant in the vegetation state for a longer time by regulating light.
Some will also argue that elongating this period is beneficial to the flavor and potency.
The commercial growers also do this so they are able to grow new plants from cuttings rather than seeds. The process of trimming a leaf off the plant and using it to grow a ‘clone’ of the mother is known as cloning.
Phase 4: Flowering Stage
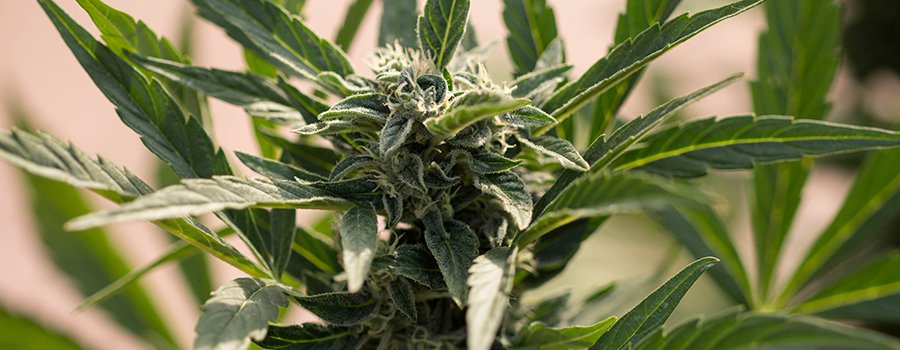
This stage is akin to when the pregnant lady starts showing.
The fruits of your back breaking work are evident, and you can begin to celebrate but your work isn’t finished yet.
There is one important thing to remember about this stage, the flowers must remain free of pollination.
See, if your plant is pollinated by a male plant it will concentrate on production of more seeds rather than direct those efforts towards feeding the buds.
Thus, there is more cannabinoids in the plant for you if it remains unpollinated. The seedless flowers of the cannabis plant are called sinsemilla.
To ensure pollination does not occur, separate the male plants from the female ones as soon as the gender properties start to be apparent.
The male plants have green banana like sacs at the node area, you must separate the plants before these sacs burst and spread pollen all over the place.
Plants can also be hermaphroditic, which are plants with both female and male identifiers. Such plants are capable of pollinating themselves, so they should not be left to proceed any further.
You do not want your future plants to have those properties so these plants can be destroyed immediately once you begin to notice their presence.
The flowering stage is triggered by 10-13 hours of uninterrupted darkness, the period required depends on the strain that you are growing.
This period of darkness is meant to symbolize the end of summer, so the temperature should therefore be moderately warm with medium humidity.
The flowers will be covered in hairs called trichomes.
As maturity comes along the trichomes will be sticky with resin. At first, the trichomes will be translucent, but the color will change at different levels of maturity.
The color of the trichomes is a good way to tell if it is time to harvest, it’s usually a good sign to harvest when the trichomes begin to have a cloudy and slight amber shade to them. Of course, this is all dependent on the type of effects you are looking for.
Let’s discuss this further below.
Phase 5: Harvest Stage
The trichomes continue to produce cannabinoids until peak level is achieved then they start to degrade. So the best time to harvest is when the peak has been achieved but right before degradation begins.
This is usually when the trichomes are a cloudy whitish hue or slightly amber. Amber is usually a good sign that the marijuana is high in CBD.
Before the whitish shade is achieved, there is very little cannabinoids to extract and it would therefore be a waste to harvest at this point.
However, once the trichomes turn brown or dark the cannabinoids have degraded and wastage has occurred.
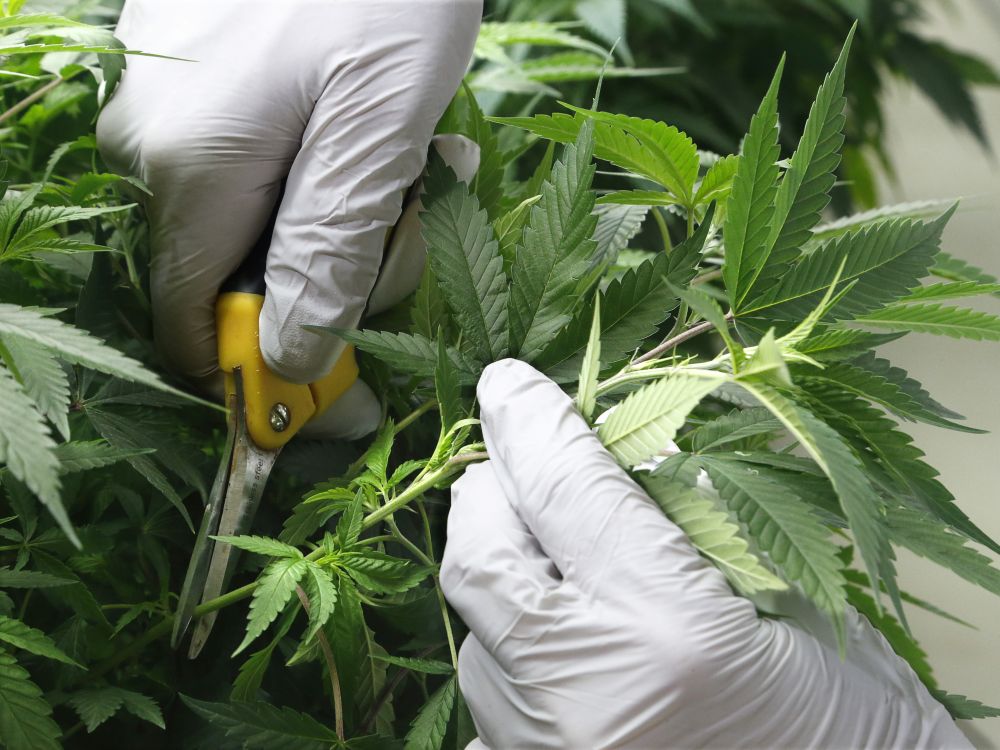
The very first thing to do is cut the plant at the very bottom and hang it upside down, you can then trim off the leaves and throw away or you can cook with the cannabis leaves.
Prune the stems holding the flowers and set aside carefully for the next step.
Your pruning equipment should be sturdy enough to cut through the hard stems. Also, ensure to bring some isopropyl alcohol with you.
This stage can get pretty sticky and gooey but the alcohol will be handy in cleaning the pruning tool as you go. You should also wear gloves to avoid sticky resin fingers.
Phase 6: Drying and Curing
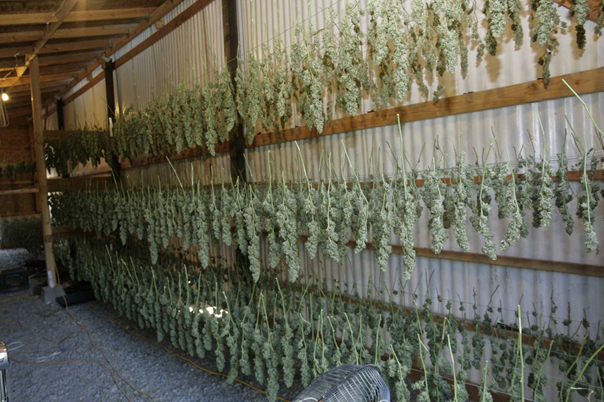
You need to prevent fungus and bacteria from growing all over the fruits of your labor.
The drying process is meant to lengthen the life cycle of your buds by sucking out the moisture.
It’s also extremely important that you keep the humidity at a controlled 45-55%, this process ensures that the buds can keep until you are ready to smoke.
The curing part is strictly optional, but highly recommended, you can compare this to the curing of a fine wine.
Curing is meant to decrease the harshness and improve the overall flavor of your buds.
This process is extremely simple, just place your trimmed buds in a sealed container and keep in the dark for 30 days.
After that, the buds really will be ready for consumption and you can finally enjoy the fruits of your hard work!
Rely on the Seed for Content
Some have hypothesized that there are techniques to use to increase the potency of a plant like the KISS method.
But you must remember that the CBD or THC content is dependent on parentage.
The seed you get matters most. When getting cannabis seeds, you must ask for the documentation.
Do not just trust the breeder that the seed is that of a female CBD high plant. Getting the most appropriate seed is already half the work. Well, not really but you get the gist.
To start, you can choose an auto flowering strain, which will be a mix of indica and sativa. Auto flowering seeds will also grow short and flower automatically without needing the light regulation.
The growth cycle will also be short at 2-3 months!
As a first timer, there will be many many moments of self-doubt, but remember Google is your friend.
Find journals online and YouTube videos, these will help you track the progress and abate the sweats.
Happy organic cannabis farming! Once you’ve finished growing your first CBD-rich cannabis, share your experience with us and other readers in the comments section below. I can’t wait to see what you all grow!


